Hey readers... I can see my visit number on the rise. It's probably the same few-- but-- if you stop by, say hi! Add a comment will ya? Let me know what you want to see me make. Remember, I have to make this in a day-- so be easy on me.
If I don't know ya, and you are checking through blogs, PLEASE say hi! I'd love to read ya!
Tuesday, August 31, 2010

Day 9: FAIL, sort of
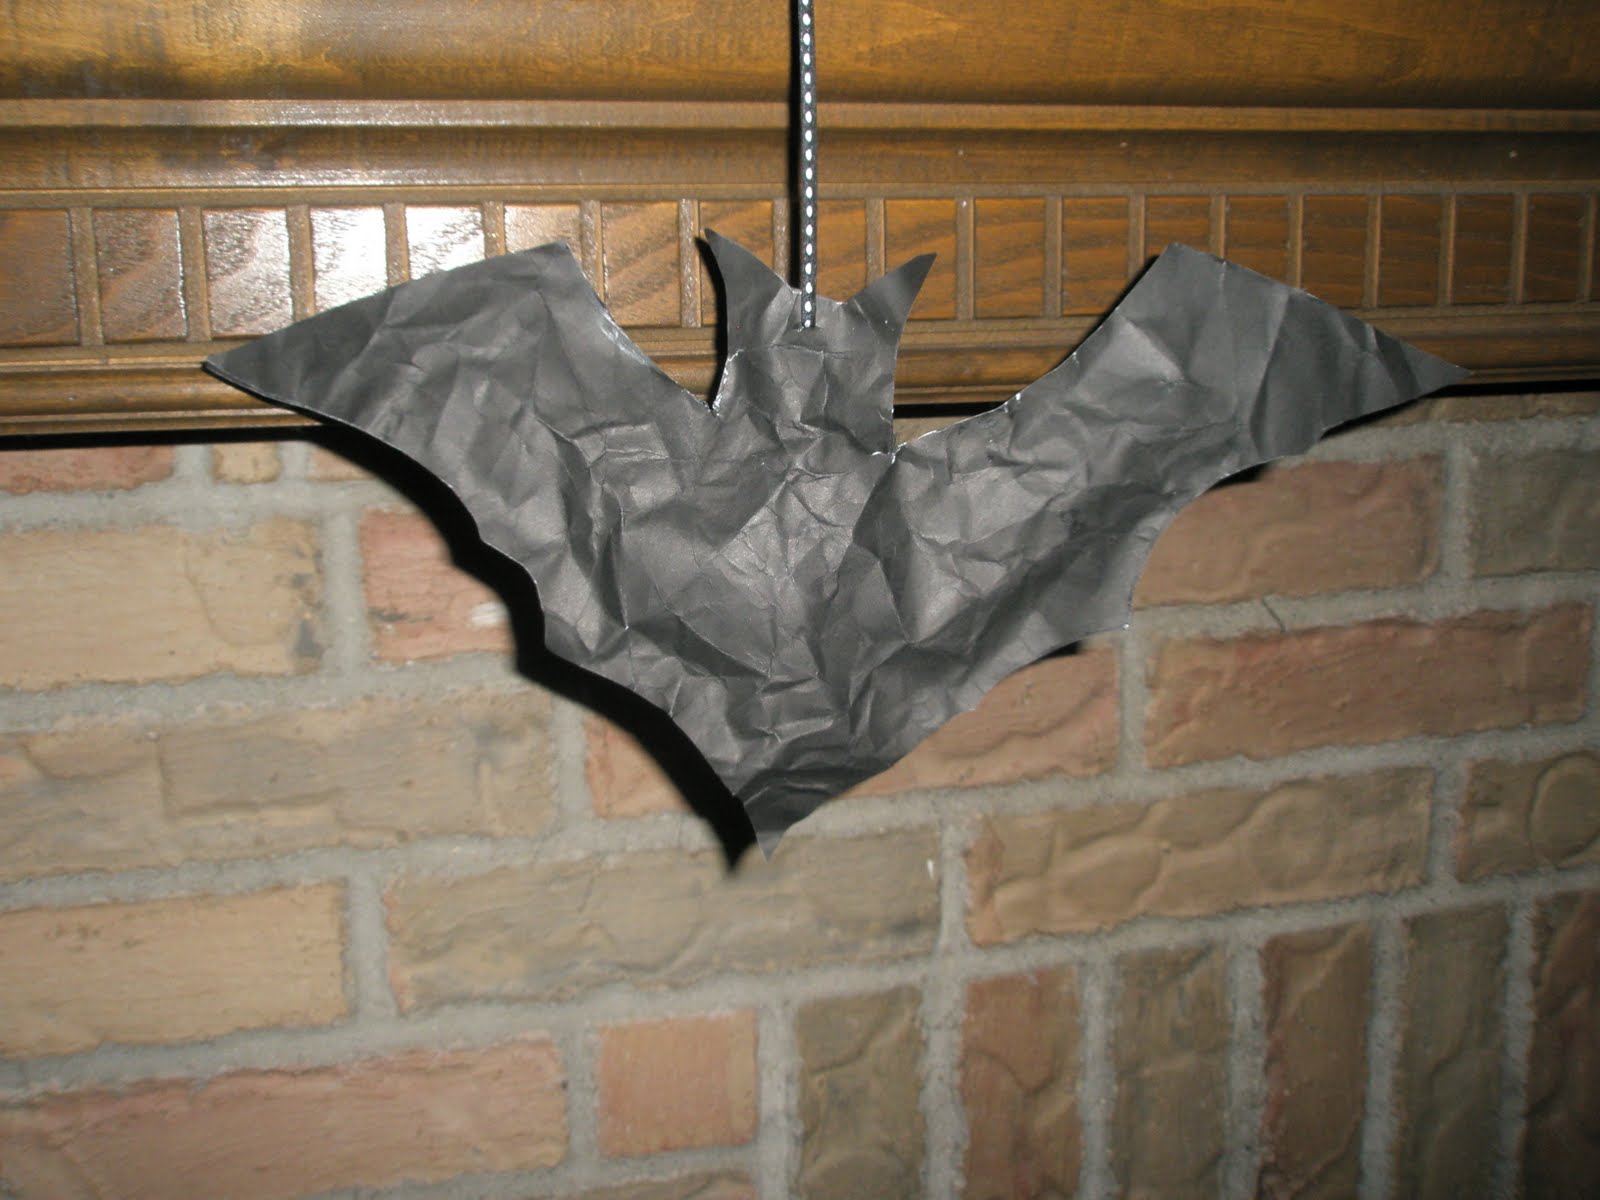
I'm a little psyched about making my house look all spooky for halloween. I wanted to see if I could do a few little decorations before the stamp club that I will be hosting tomorrow.
But-- I sort of failed. I tried a few different ways to make these bats, and it just didn't turn out like I had hoped. So, I'm calling this a FAIL. UGH.
I think if I make them from black denim and leave frayed edges, that would look a whole lot cooler. hmmm... may have to try that in a few weeks. Let me lick my craft wounds and try again.


Looking ahead....
Tomorrow night is stamp club. I will be posting pics up of the crafts that we will be making!
But-- I sort of failed. I tried a few different ways to make these bats, and it just didn't turn out like I had hoped. So, I'm calling this a FAIL. UGH.
I think if I make them from black denim and leave frayed edges, that would look a whole lot cooler. hmmm... may have to try that in a few weeks. Let me lick my craft wounds and try again.

Looking ahead....
Tomorrow night is stamp club. I will be posting pics up of the crafts that we will be making!
Monday, August 30, 2010
Day 8: Spooooooooooktacular, and EASY!
If you know me, you know that I looooove Halloween. Heck, I love everything about it. I like the costumes, the scary movie marathons that run all october long, I love the candy, I just love everything about it!! What's not to love.
I saw a really cute template for these lil crows. But- I got to thinking-- hmm-- I bet I could make some penguins for christmas-- I just need to do a little adjusting.. hmm. Stay tuned in december for more.
Materials:
Scrabooking paper -
Wire :
Template for the crow :
http://www.cheekymagpie.com/wp-content/gallery/cheeky/crow-pattern.jpg
How to:
Just cut the template out, puting the straightest part of the crows back on a fold of paper.
Then- take three strands of wire and wind them around each other, leaving just enough room to make his little feet. The hardest part is to make him stand. I taped the top to the inside of the paper-- and then just kept working with the legs and feet until he was able to stand alone.
Add these cute little guys to your mantle or another spooky setting, and you have a Halloween deco that you spent little to no money on at all! Can't beat that with a stick, can ya?!


Happy Haunting!!
I saw a really cute template for these lil crows. But- I got to thinking-- hmm-- I bet I could make some penguins for christmas-- I just need to do a little adjusting.. hmm. Stay tuned in december for more.
Materials:
Scrabooking paper -
Wire :
Template for the crow :

http://www.cheekymagpie.com/wp-content/gallery/cheeky/crow-pattern.jpg
How to:
Just cut the template out, puting the straightest part of the crows back on a fold of paper.
Then- take three strands of wire and wind them around each other, leaving just enough room to make his little feet. The hardest part is to make him stand. I taped the top to the inside of the paper-- and then just kept working with the legs and feet until he was able to stand alone.
Add these cute little guys to your mantle or another spooky setting, and you have a Halloween deco that you spent little to no money on at all! Can't beat that with a stick, can ya?!


Happy Haunting!!
Random image. hehehe
THE best Granny in the world sent a whole bunch of corks for crafting with! YESSSSSSSSS!
**As a side note-- I asked a friend of my who lives in Holland (Hi Mikey) to send me some cool Dutch stuff to craft with. He has collected 200-300 Beer bottle tops to craft with. COLOR ME EXCITED! can I get a WOOT WOOT!

**As a side note-- I asked a friend of my who lives in Holland (Hi Mikey) to send me some cool Dutch stuff to craft with. He has collected 200-300 Beer bottle tops to craft with. COLOR ME EXCITED! can I get a WOOT WOOT!

Sunday, August 29, 2010
Day 7: Sweet Dreams
I can't believe that I have been at this for a whole week.
Like I said yesterday, I haven't been feeling well- so the projects this weekend wern't overly elaborate.
I love the idea of ribbon on pillow cases for a punch of color, and I do love me some color! :)
So-- the idea is simple:
Materials:
Pillow case
Strips of ribbon
Sewing machine
Instructions:
Just cut some different lengths of ribbon to fit your color scheme.
Sew on the the strips in random order -- think outside the box, BE RANDOM. Trust me on this, it will pay off in the end.


**And please do not poay attention to the unmade bed. That's just how I roll people. hahah
Happy Sunday.
Like I said yesterday, I haven't been feeling well- so the projects this weekend wern't overly elaborate.
I love the idea of ribbon on pillow cases for a punch of color, and I do love me some color! :)
So-- the idea is simple:
Materials:
Pillow case
Strips of ribbon
Sewing machine
Instructions:
Just cut some different lengths of ribbon to fit your color scheme.
Sew on the the strips in random order -- think outside the box, BE RANDOM. Trust me on this, it will pay off in the end.


**And please do not poay attention to the unmade bed. That's just how I roll people. hahah
Happy Sunday.
Saturday, August 28, 2010
Day 6: Hooot Hoooot
I'm not feeling very good today, so this is gonna be a simple (but still cute) one.
Check out this years cool new Stampin' Up Owl punch! one word:ADORABLE


Friday, August 27, 2010
Day 5: Put a lid on it!
I'm stuck on the Green theme this week:
Today I've made a Jiffy Gift Jar!
Materials:


Today I've made a Jiffy Gift Jar!
Materials:
- Jiffy peanut butter jar (cleaned in dishwasher)
- scrapbooking paper
- ribbon
- super tacky tape
- scissors
- circle cutter
Instructions:
Measure the flatest place around your jar to put the scrapbooking paper around. My jar was 3.5 inches wide. I cut two pieces of paper at 3.5 inches X12 inches. ** The reason I did two is because i wanted the pattern to show on the inside of the box as well. I wrapped that paper around the jar, put tape on both ends, one to secure to jar, one to secure to the paper. Now just add some cute ribbon and a tag if you want. I just happened to have a cool Paisley punch that went well with the paper I picked out. I figured this was good for both a boy or a girl. :)


Subscribe to:
Posts (Atom)